
Image compression is vital when it comes to keeping your website performant.
It's so easy to be deep into Photoshop creating great looking banners, then forget to compress the image before uploading it to Magento (I've done it myself)
There's many methods and tools that help you compress images, but here's a rough guide that will give you a great starting point!
Sizing
Sizing varies massively and depends on the screensize, whether it's full-width, or if you have a max-width set on your website.
Let's take the homepage banner from our Miami website as an example.
The width of this image is set to 2100px wide. However, I created the image in Photoshop at 3574px wide which is ~40% bigger than it needs to be
Why? So when the image is reduced in size to fit on the screen, it appears sharp enough on retina devices.
Saving Banners
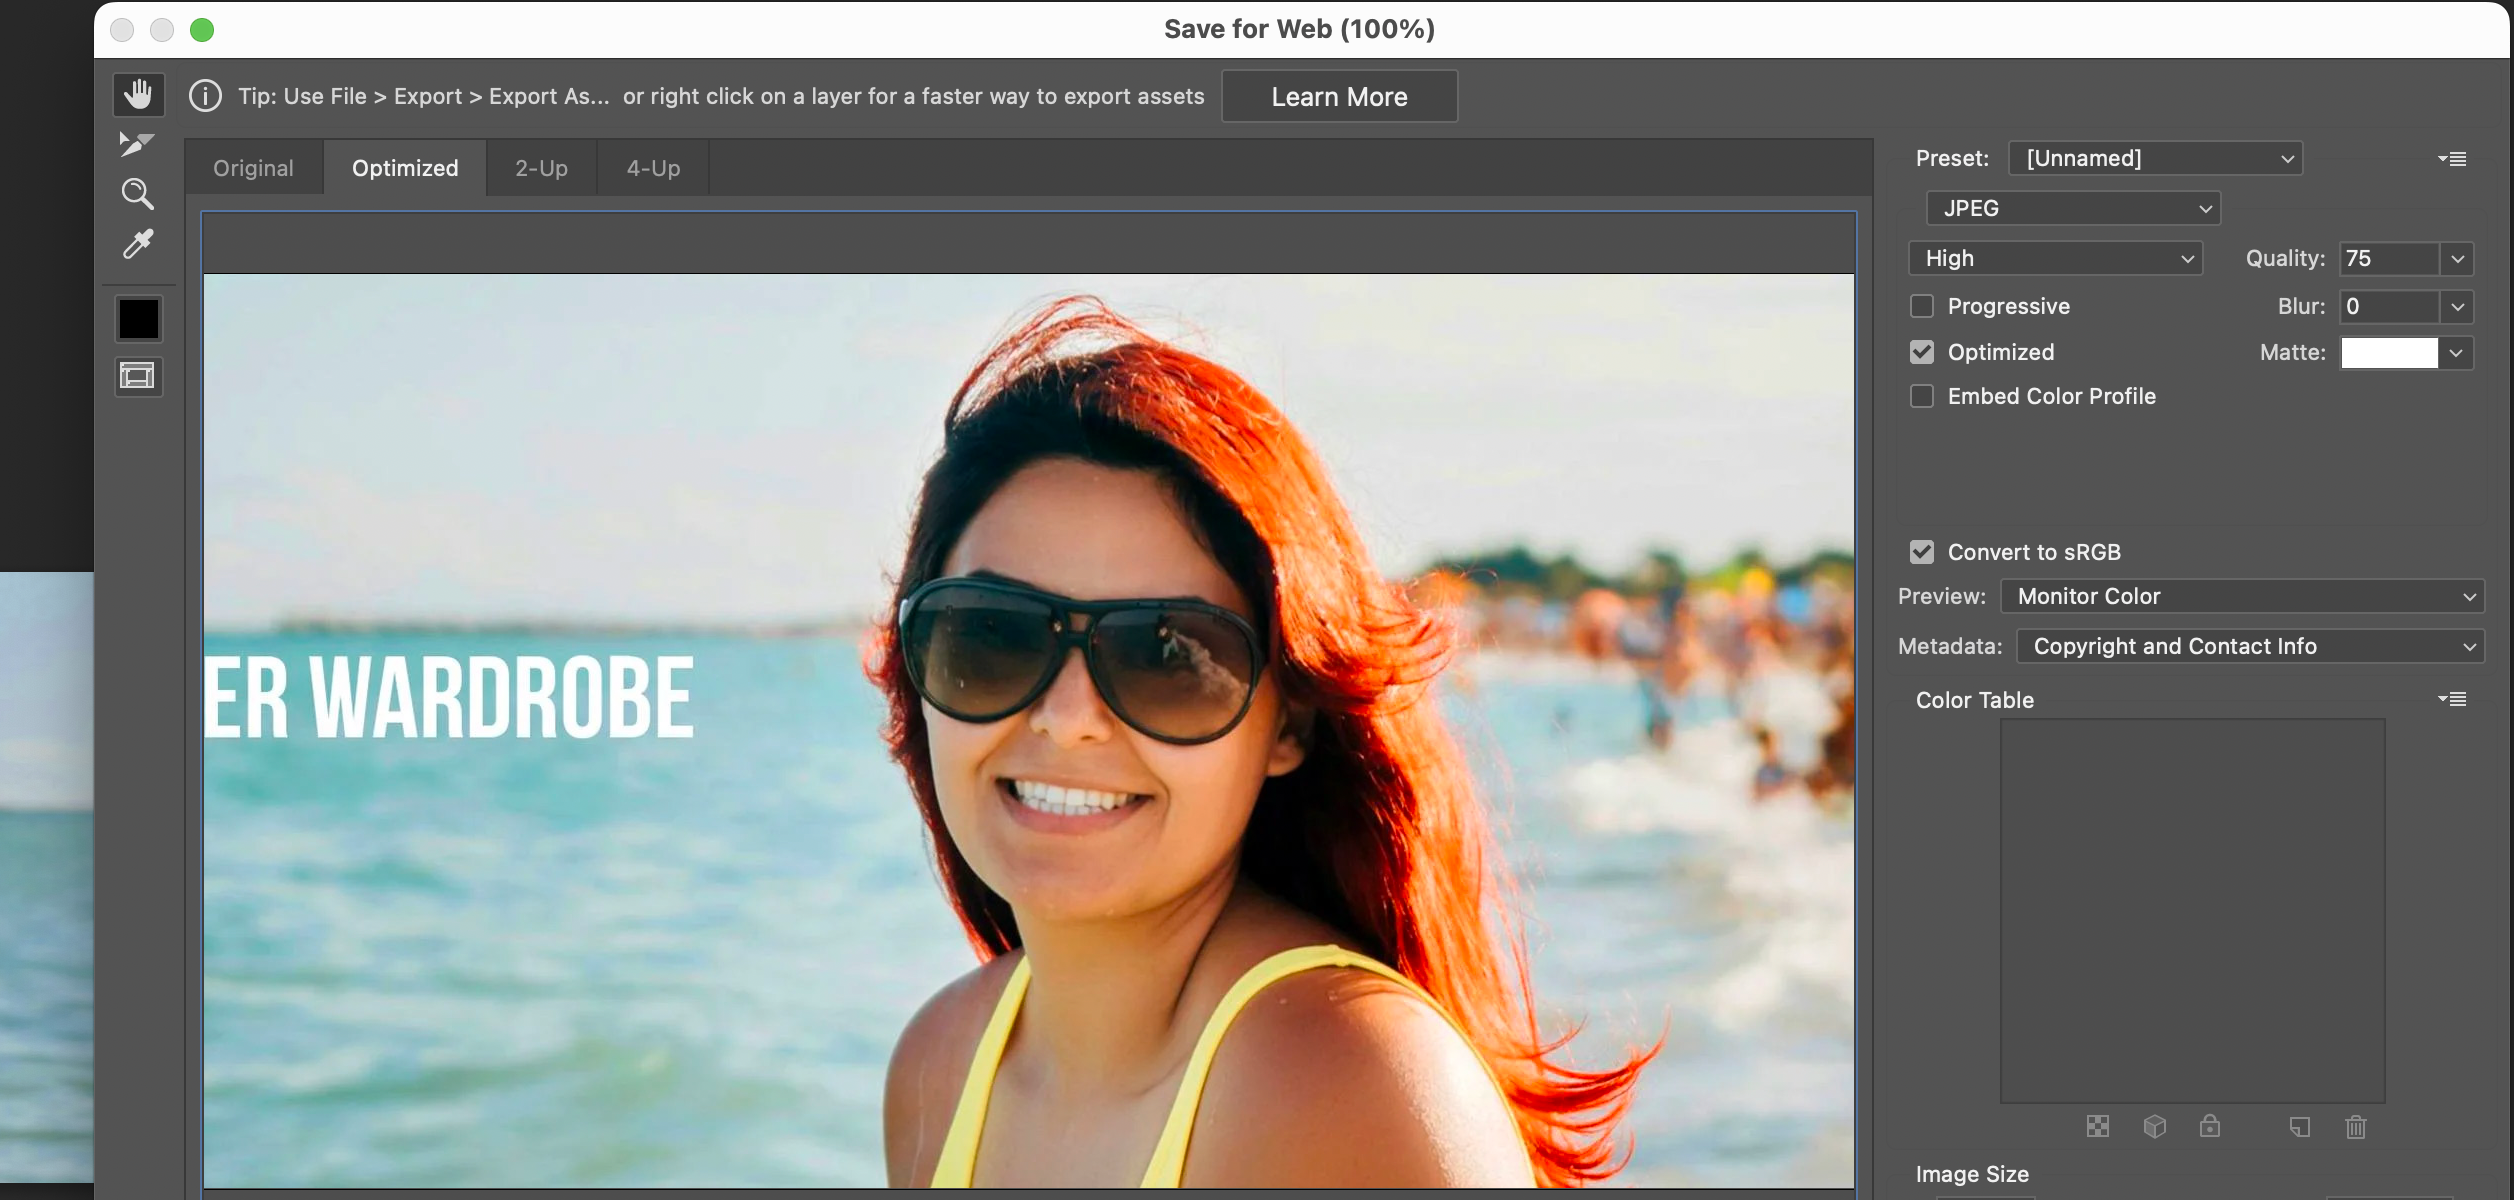
So, you've got your amazing banner designed...now it's time to save it
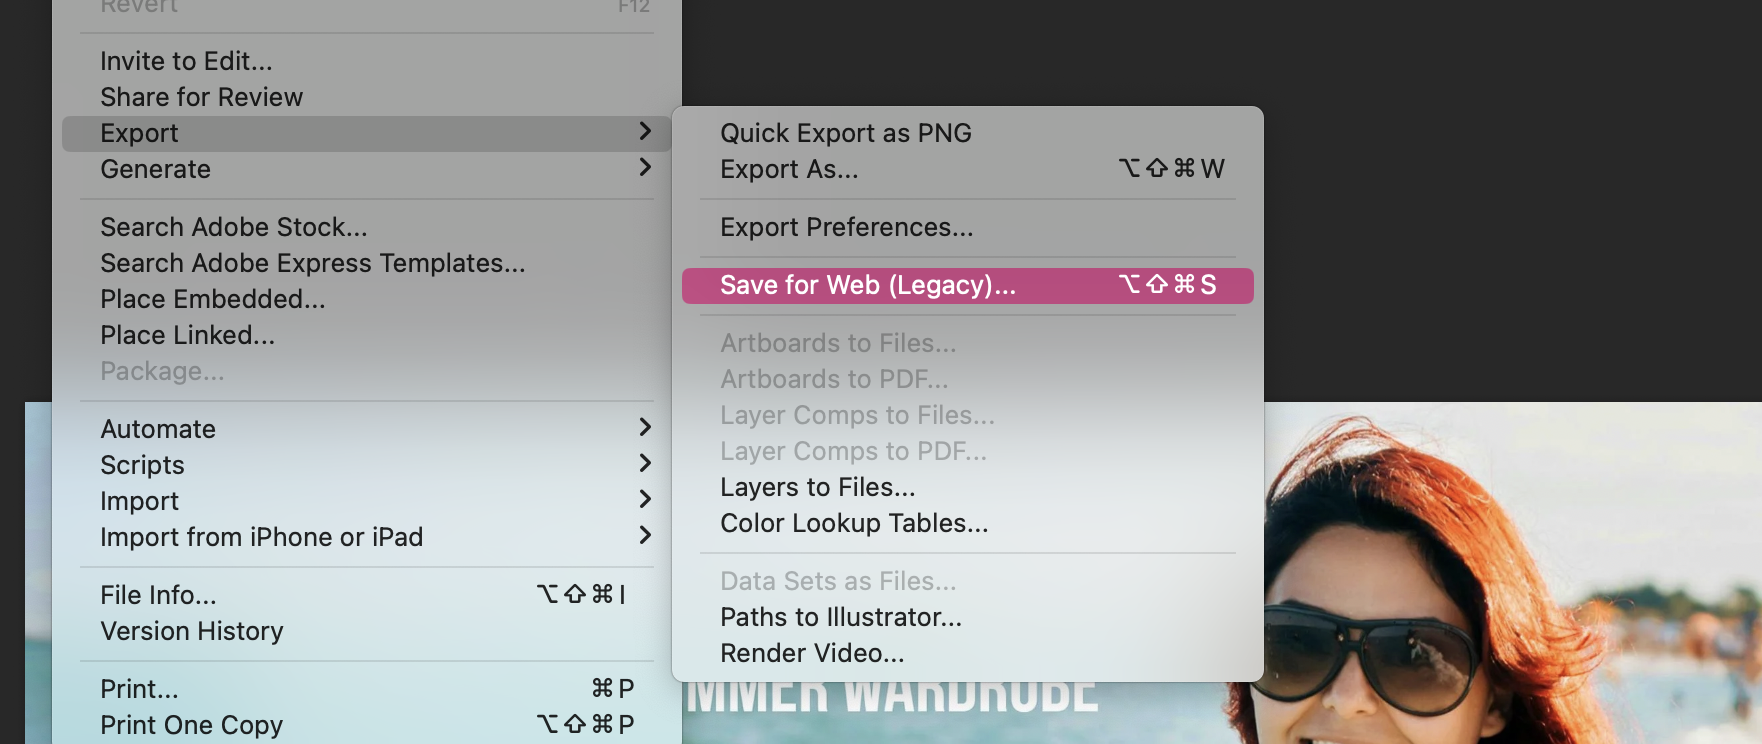
- File > Export > Save for web (legacy)
- Export at 75% quality as a .jpg
- Save
Don't forget! Save your image with a relevant, descriptive filename, using hyphens instead of spaces and no foreign characters
Compression
This is something I use when compressing banners. I'm sure there's other options, but the best thing about this is that it's FREE!
https://kraken.io/web-interface
Simply upload your banners, and Kraken will compress them for you and that's it!
Save your new banners and they're ready to upload to Magento
Summary
There will be other ways of doing this and potentially better ways, but this is the method we used when creating banners for the ZERO-1 Miami website and the results speak for themselves...100/100 on Core Web Vitals
Last tip on this...
Don't forget to add image dimensions and descriptive alt text when you're uploading to Magento. This is vital in ensuring the images not only pass CWV on size and quality, but also accessibility!